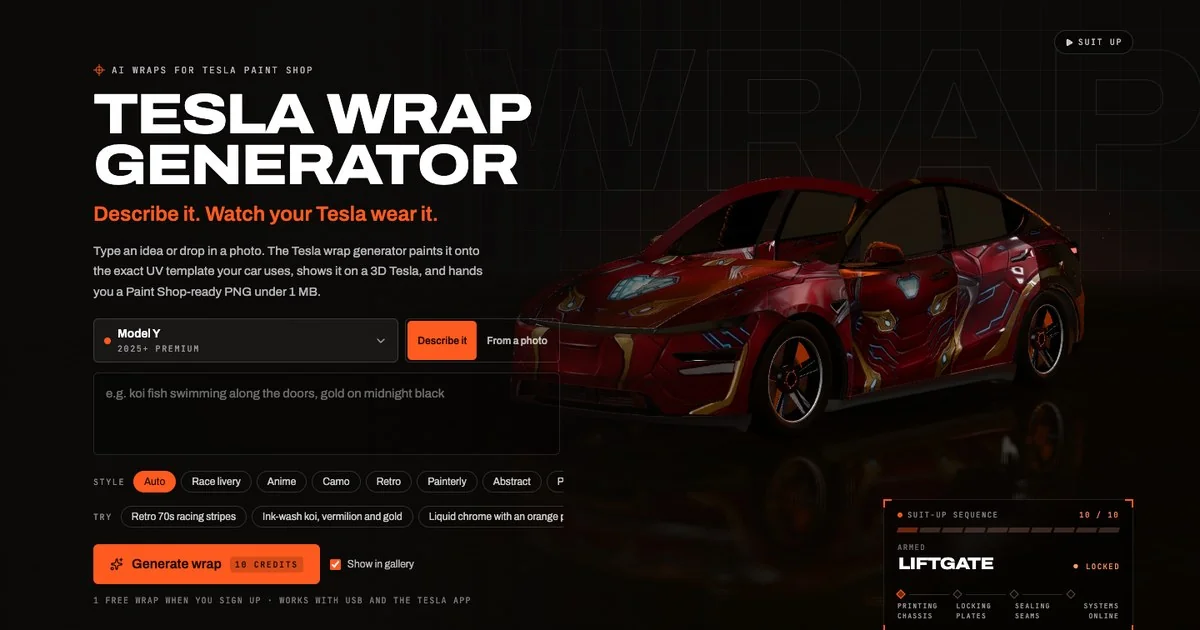
A good-looking car preview answers a visual question. Preparing a file for Tesla PaintShop also requires checking its model template, its actual image encoding, and the exported file you intend to transfer. This workflow keeps those checks separate so that a rendering success does not hide a file problem.
This is a project workflow note from Tesla Wrap Generator. The screenshots show the project's real browser interface. The checks below cover files and browser previews; they do not report an installation test in a vehicle.
Keep the vehicle template attached to the design
Start by identifying the exact vehicle version before editing a picture. A photo has a familiar rectangular composition, while a vehicle texture places separate body panels in different regions of an image. A photograph that looks balanced by itself can put its main subject across a seam, cut lettering into pieces, or leave an important panel nearly empty. Increasing image quality does not solve those placement problems. You need the layout that will receive the picture.
Tesla publishes model-specific templates in its official custom-wraps repository. Keep the original template filename and its download location alongside your working image. If you change vehicles or trims halfway through a design, create a separate working copy. A useful project folder contains the untouched template, the source artwork, and a clearly named export. That makes it possible to explain which file belongs to which vehicle without relying on a thumbnail or a memory of the last selected button.
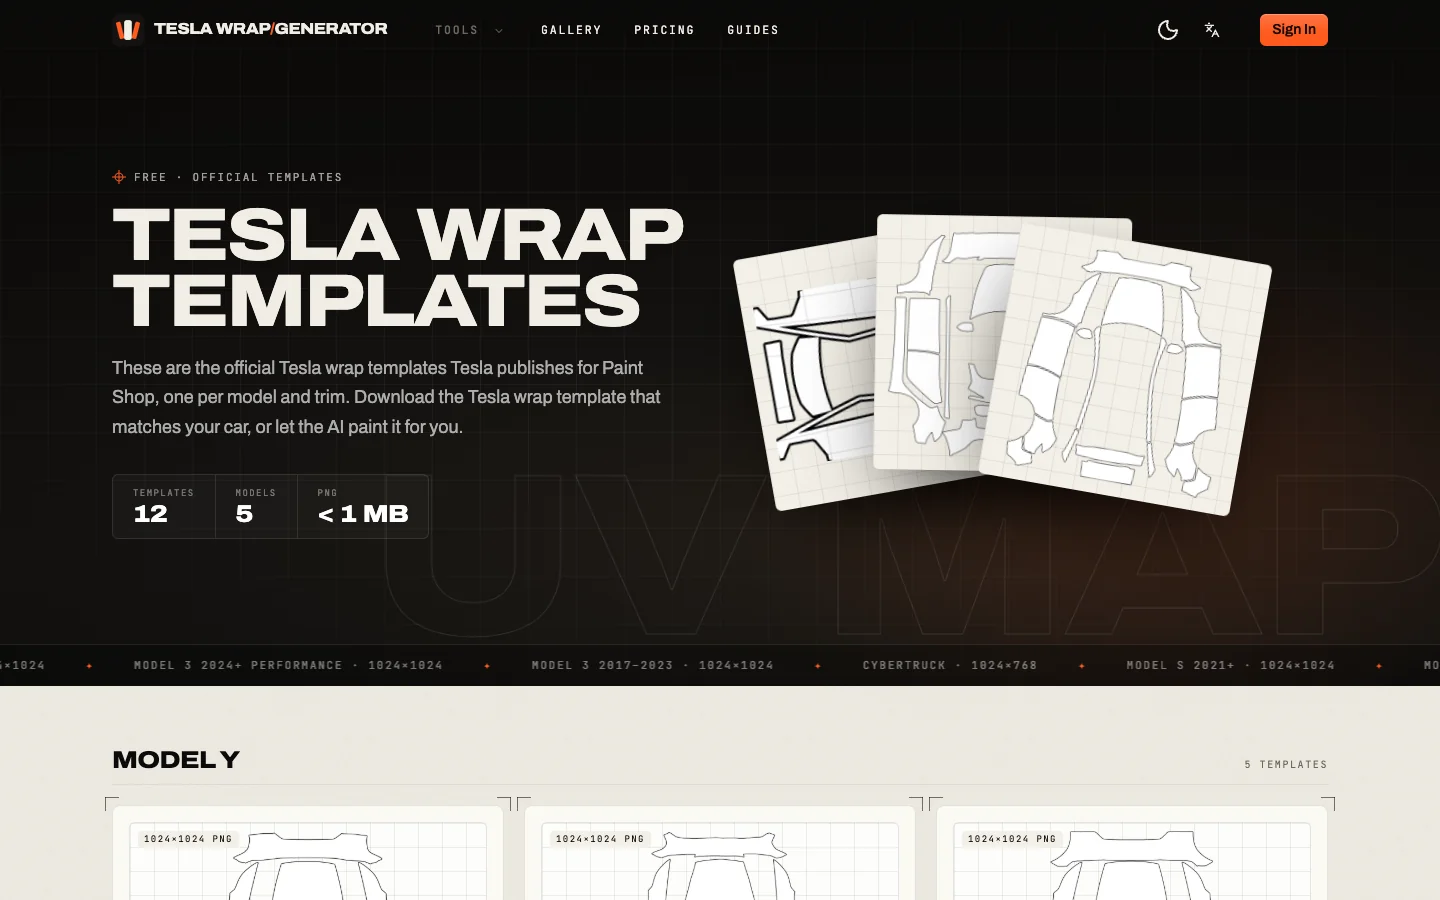
The project's template page shows twelve model and year variants. Its free 3D-preview feature covers the Model 3, Model Y, and Cybertruck families; the number of downloadable templates should not be treated as a promise that every variant has its own preview model. On the page inspected for this guide, the preview selector included a Model Y 2025+ Premium choice and other model choices. Record the selection you actually used, rather than describing a generic preview as proof of another trim's fit.
Before moving to export, write a three-line handoff note: the selected template, the source of the artwork, and the preview selection. Include any uncertainty, especially when you inspected a related model rather than an exact match. This small record is more useful than naming three different files final.png. It also prevents the next person from treating an attractive screenshot as the editable wrap itself.
Inspect the exported PNG independently of the preview
The file you upload or transfer is the object to check. A browser can display many image formats, and changing a filename extension does not change the bytes inside a file. A renamed JPEG is still a JPEG. Similarly, resizing a picture and saving a screenshot of the result creates a different artifact from exporting the intended template texture. Keep the export step explicit and inspect that output, not the source photo or the image embedded in a preview page.